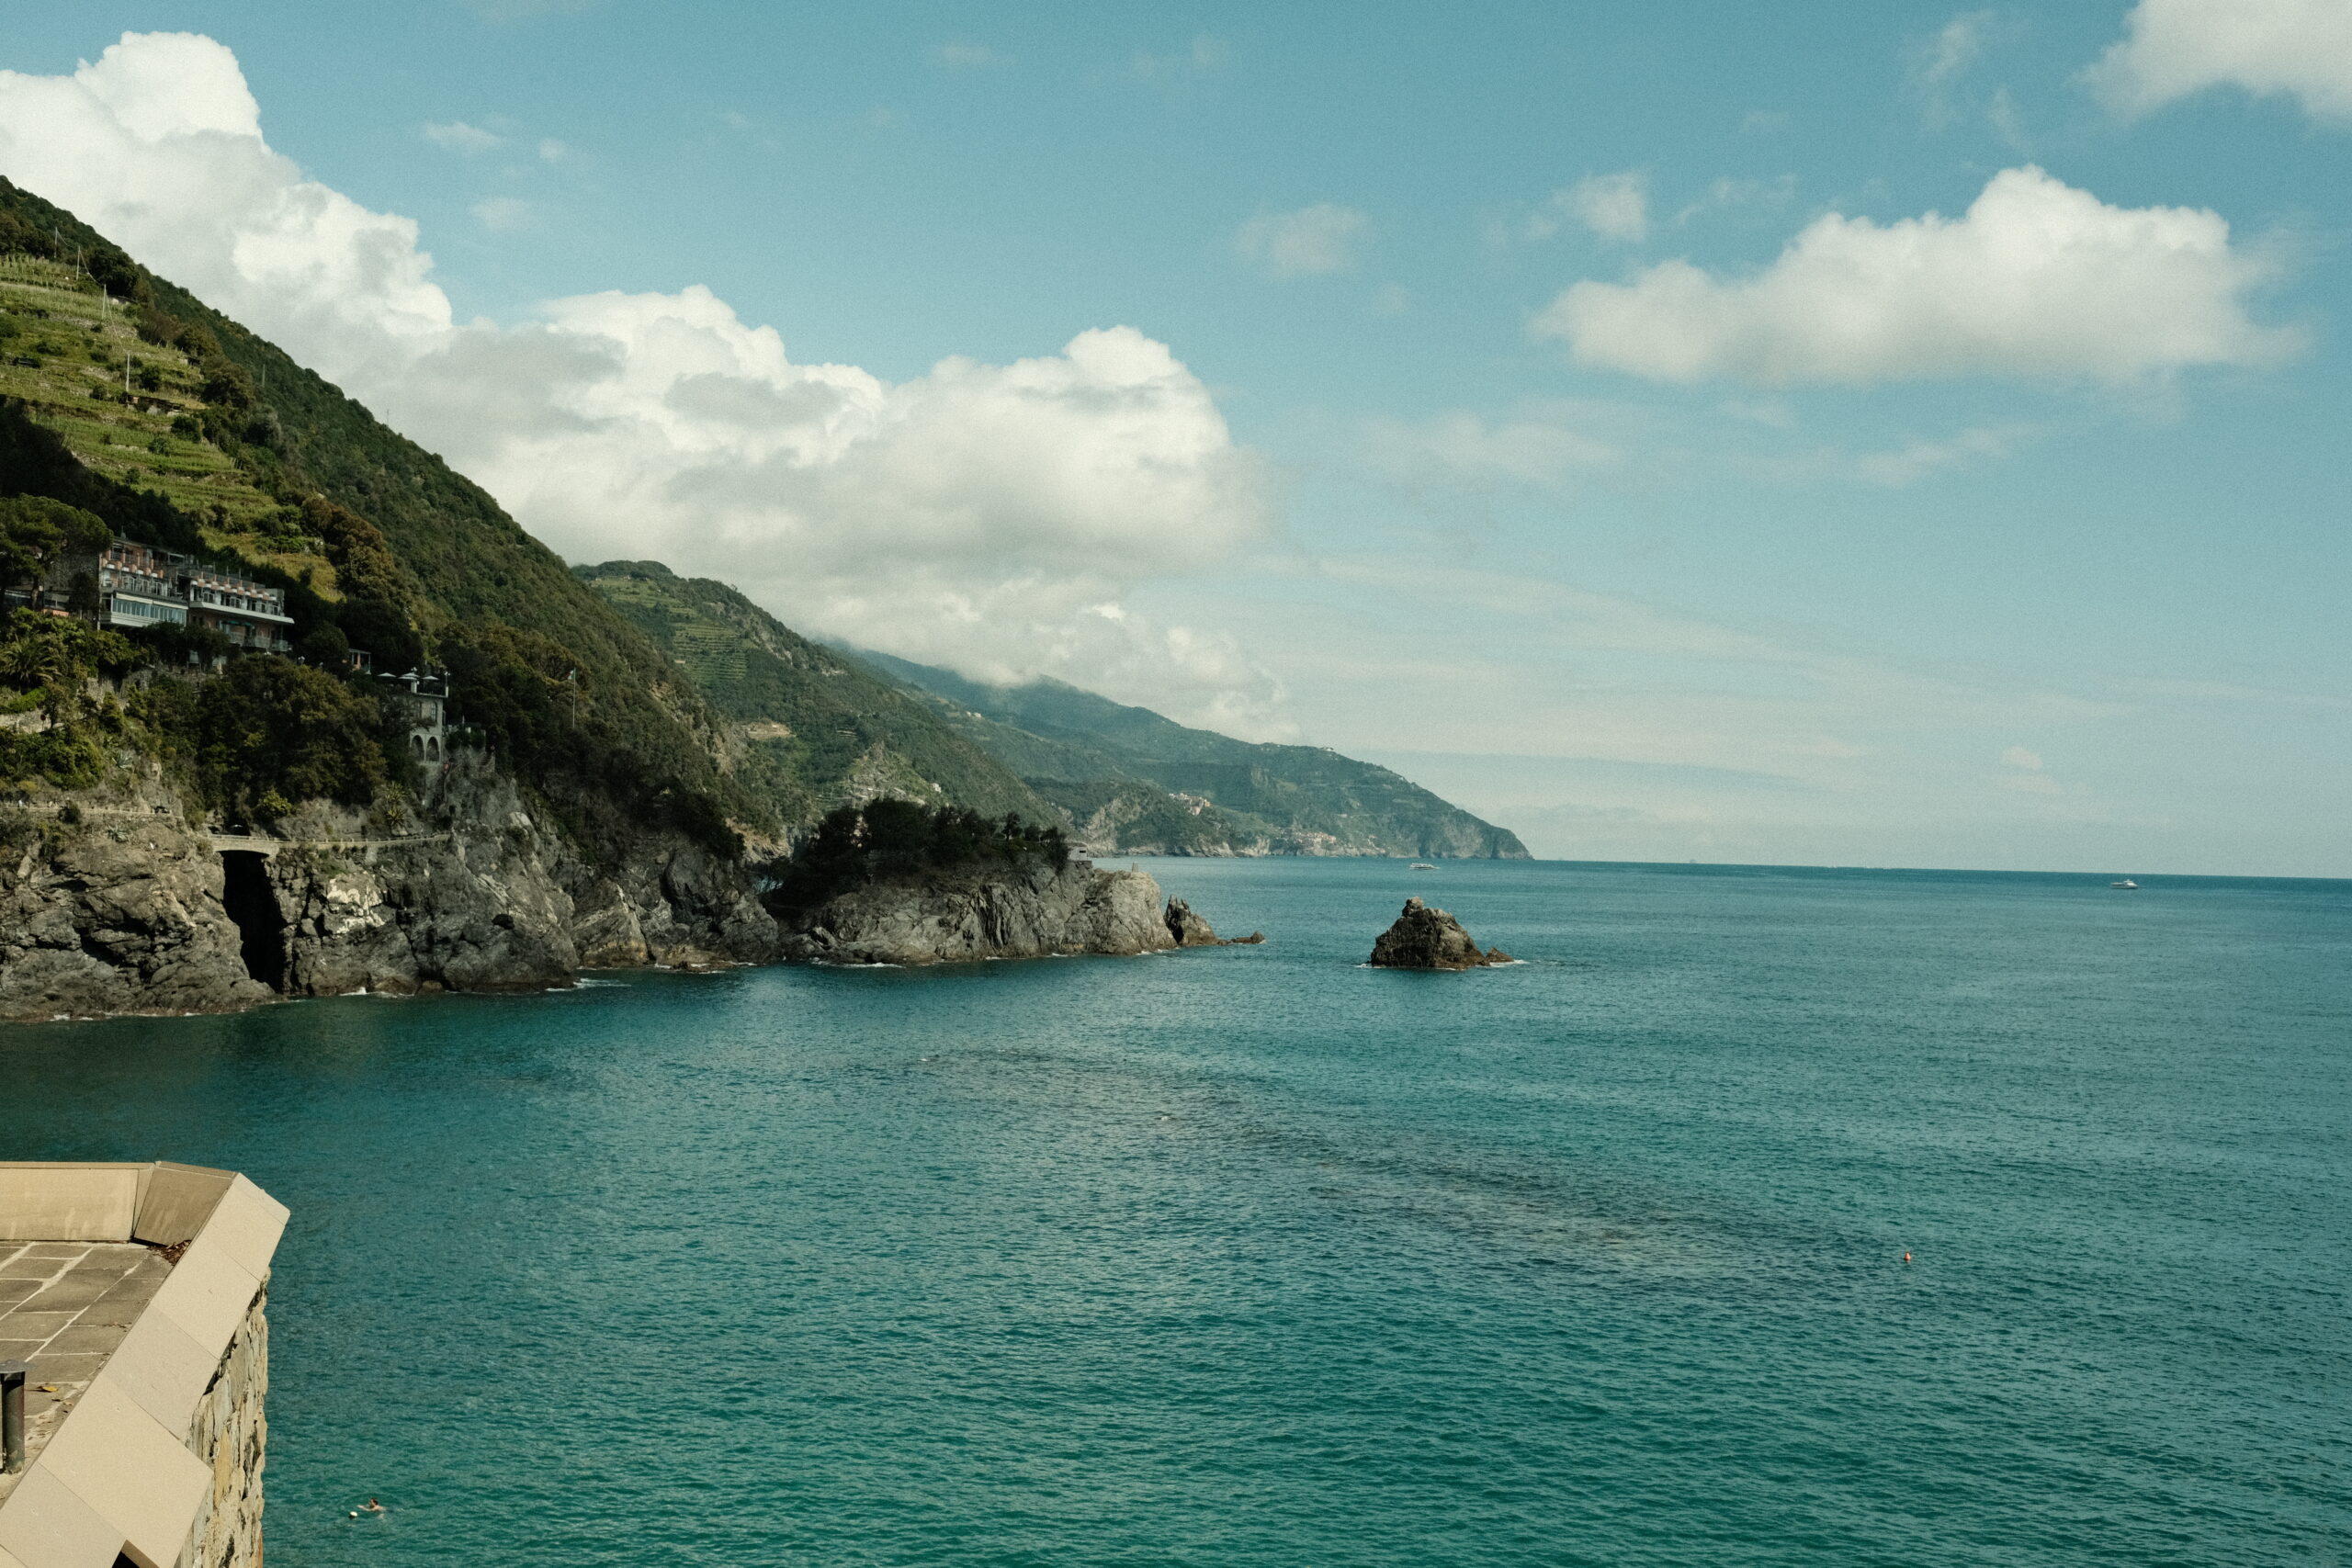
Outdoor portrait photography offers a dynamic and beautiful backdrop for capturing people in natural settings. Whether you’re shooting a casual session in the woods or a planned portrait session by the water, photographing people outdoors presents unique opportunities and challenges. With the right techniques, you can create stunning, natural portraits that stand out. Here’s how to master outdoor portrait photography.
1. Utilize Natural Light to Your Advantage
Lighting can make or break an outdoor portrait. Natural light is your best tool, but knowing how to use it properly is essential. The time of day, weather, and location all impact how light behaves and, in turn, the quality of your shots.
- Tip: The best light for outdoor portraits is often found during the “golden hour”—the period just after sunrise or before sunset when the light is soft and warm. This reduces harsh shadows and gives your subjects a flattering glow.
- Bonus: On overcast days, the clouds act as a natural diffuser, softening the light. This is ideal for even, shadow-free portraits. If you’re shooting midday, look for shaded areas to avoid harsh sunlight.
2. Choose the Right Lens for Portraits
The lens you choose can significantly affect the look and feel of your portrait. For outdoor portraits, a prime lens with a wide aperture allows for beautiful background blur (bokeh), helping your subject stand out from the environment.
- Recommended Lenses:
- 85mm f/1.8: This lens is a classic choice for portrait photography, offering a flattering focal length that adds depth and isolates your subject from the background.
- 50mm f/1.4 or f/1.8: Also known as the “nifty fifty,” this lens is lightweight, affordable, and delivers excellent results with creamy bokeh, ideal for outdoor portraits.
- Tip: Shoot at a wider aperture (low f-stop) to blur the background and create that soft, dreamy look behind your subject.
3. Position Your Subject for the Best Results
When shooting outdoors, positioning your subject is key to getting the best light and the most flattering angles. Pay attention to where the light is coming from, how it hits your subject, and how it interacts with the surroundings.
- Tip: Backlighting—where the sun is behind your subject—creates a soft halo effect, giving your portrait a magical glow. Use this technique during golden hour for stunning results.
- Bonus: If the sun is too harsh, position your subject with the sun to their side and use a reflector to bounce soft light back onto their face, reducing shadows and evening out the light.
4. Use the Environment as a Creative Backdrop
One of the greatest advantages of outdoor portrait photography is the wide variety of natural backgrounds available. Forests, fields, lakes, and urban landscapes can all enhance your portraits if used creatively.
- Tip: Look for elements in the environment that can add depth and interest to your shot, such as tree branches, flowers, rocks, or reflections in water. These natural elements can frame your subject or add texture to the composition.
- Bonus: Consider the color palette of your environment. A subject wearing neutral tones may blend beautifully into a forest setting, while bright colors can pop against an urban backdrop.
5. Capture Natural Expressions and Movements
Outdoor portraits often have a more relaxed and candid vibe compared to studio shots. Encourage your subject to move around, interact with the environment, and feel comfortable in front of the camera. This helps capture genuine expressions and movements, resulting in more natural and captivating portraits.
- Tip: Instead of having your subject pose stiffly, ask them to walk, turn, or engage with their surroundings. This helps to bring out more authentic moments that tell a story in your photos.
- Bonus: Incorporate props from nature, such as a bouquet of wildflowers, a walking stick, or even camping gear if you’re going for an adventure theme. These props can add personality and context to your portraits.
6. Make the Most of Depth and Perspective
Playing with depth of field and perspective can take your outdoor portraits to the next level. By varying your angles and focal points, you can create more dynamic images that stand out.
- Tip: Shoot with a shallow depth of field to make your subject pop while keeping the background soft and blurred. This technique is perfect for drawing attention to the person while still incorporating the beauty of the surroundings.
- Bonus: Change your perspective by shooting from above or below. This adds an artistic touch to your portraits and gives them a unique feel.
7. Adjust for Changing Weather Conditions
Outdoor photography means you’re at the mercy of the elements. Whether it’s bright sunlight, cloudy skies, or even rain, you’ll need to adapt quickly to the weather to get the best shots.
- Tip: If the light changes suddenly, don’t panic! Adjust your camera settings to compensate. For brighter conditions, increase your shutter speed or narrow your aperture. In low light, consider raising your ISO or using a wider aperture.
- Bonus: Rainy or foggy days can create beautifully moody portraits. Embrace the weather and use it to your advantage. Capture droplets on leaves, mist in the air, or a dramatic overcast sky for added emotion in your portraits.
Final Thoughts
Mastering outdoor portrait photography is all about finding the right balance between natural light, creative use of the environment, and capturing genuine emotions. With these tips, you’ll be well-equipped to create stunning outdoor portraits that feel both timeless and natural. Whether you’re shooting in a forest, by the ocean, or on a mountain trail, remember to let the beauty of the environment enhance your subject.

