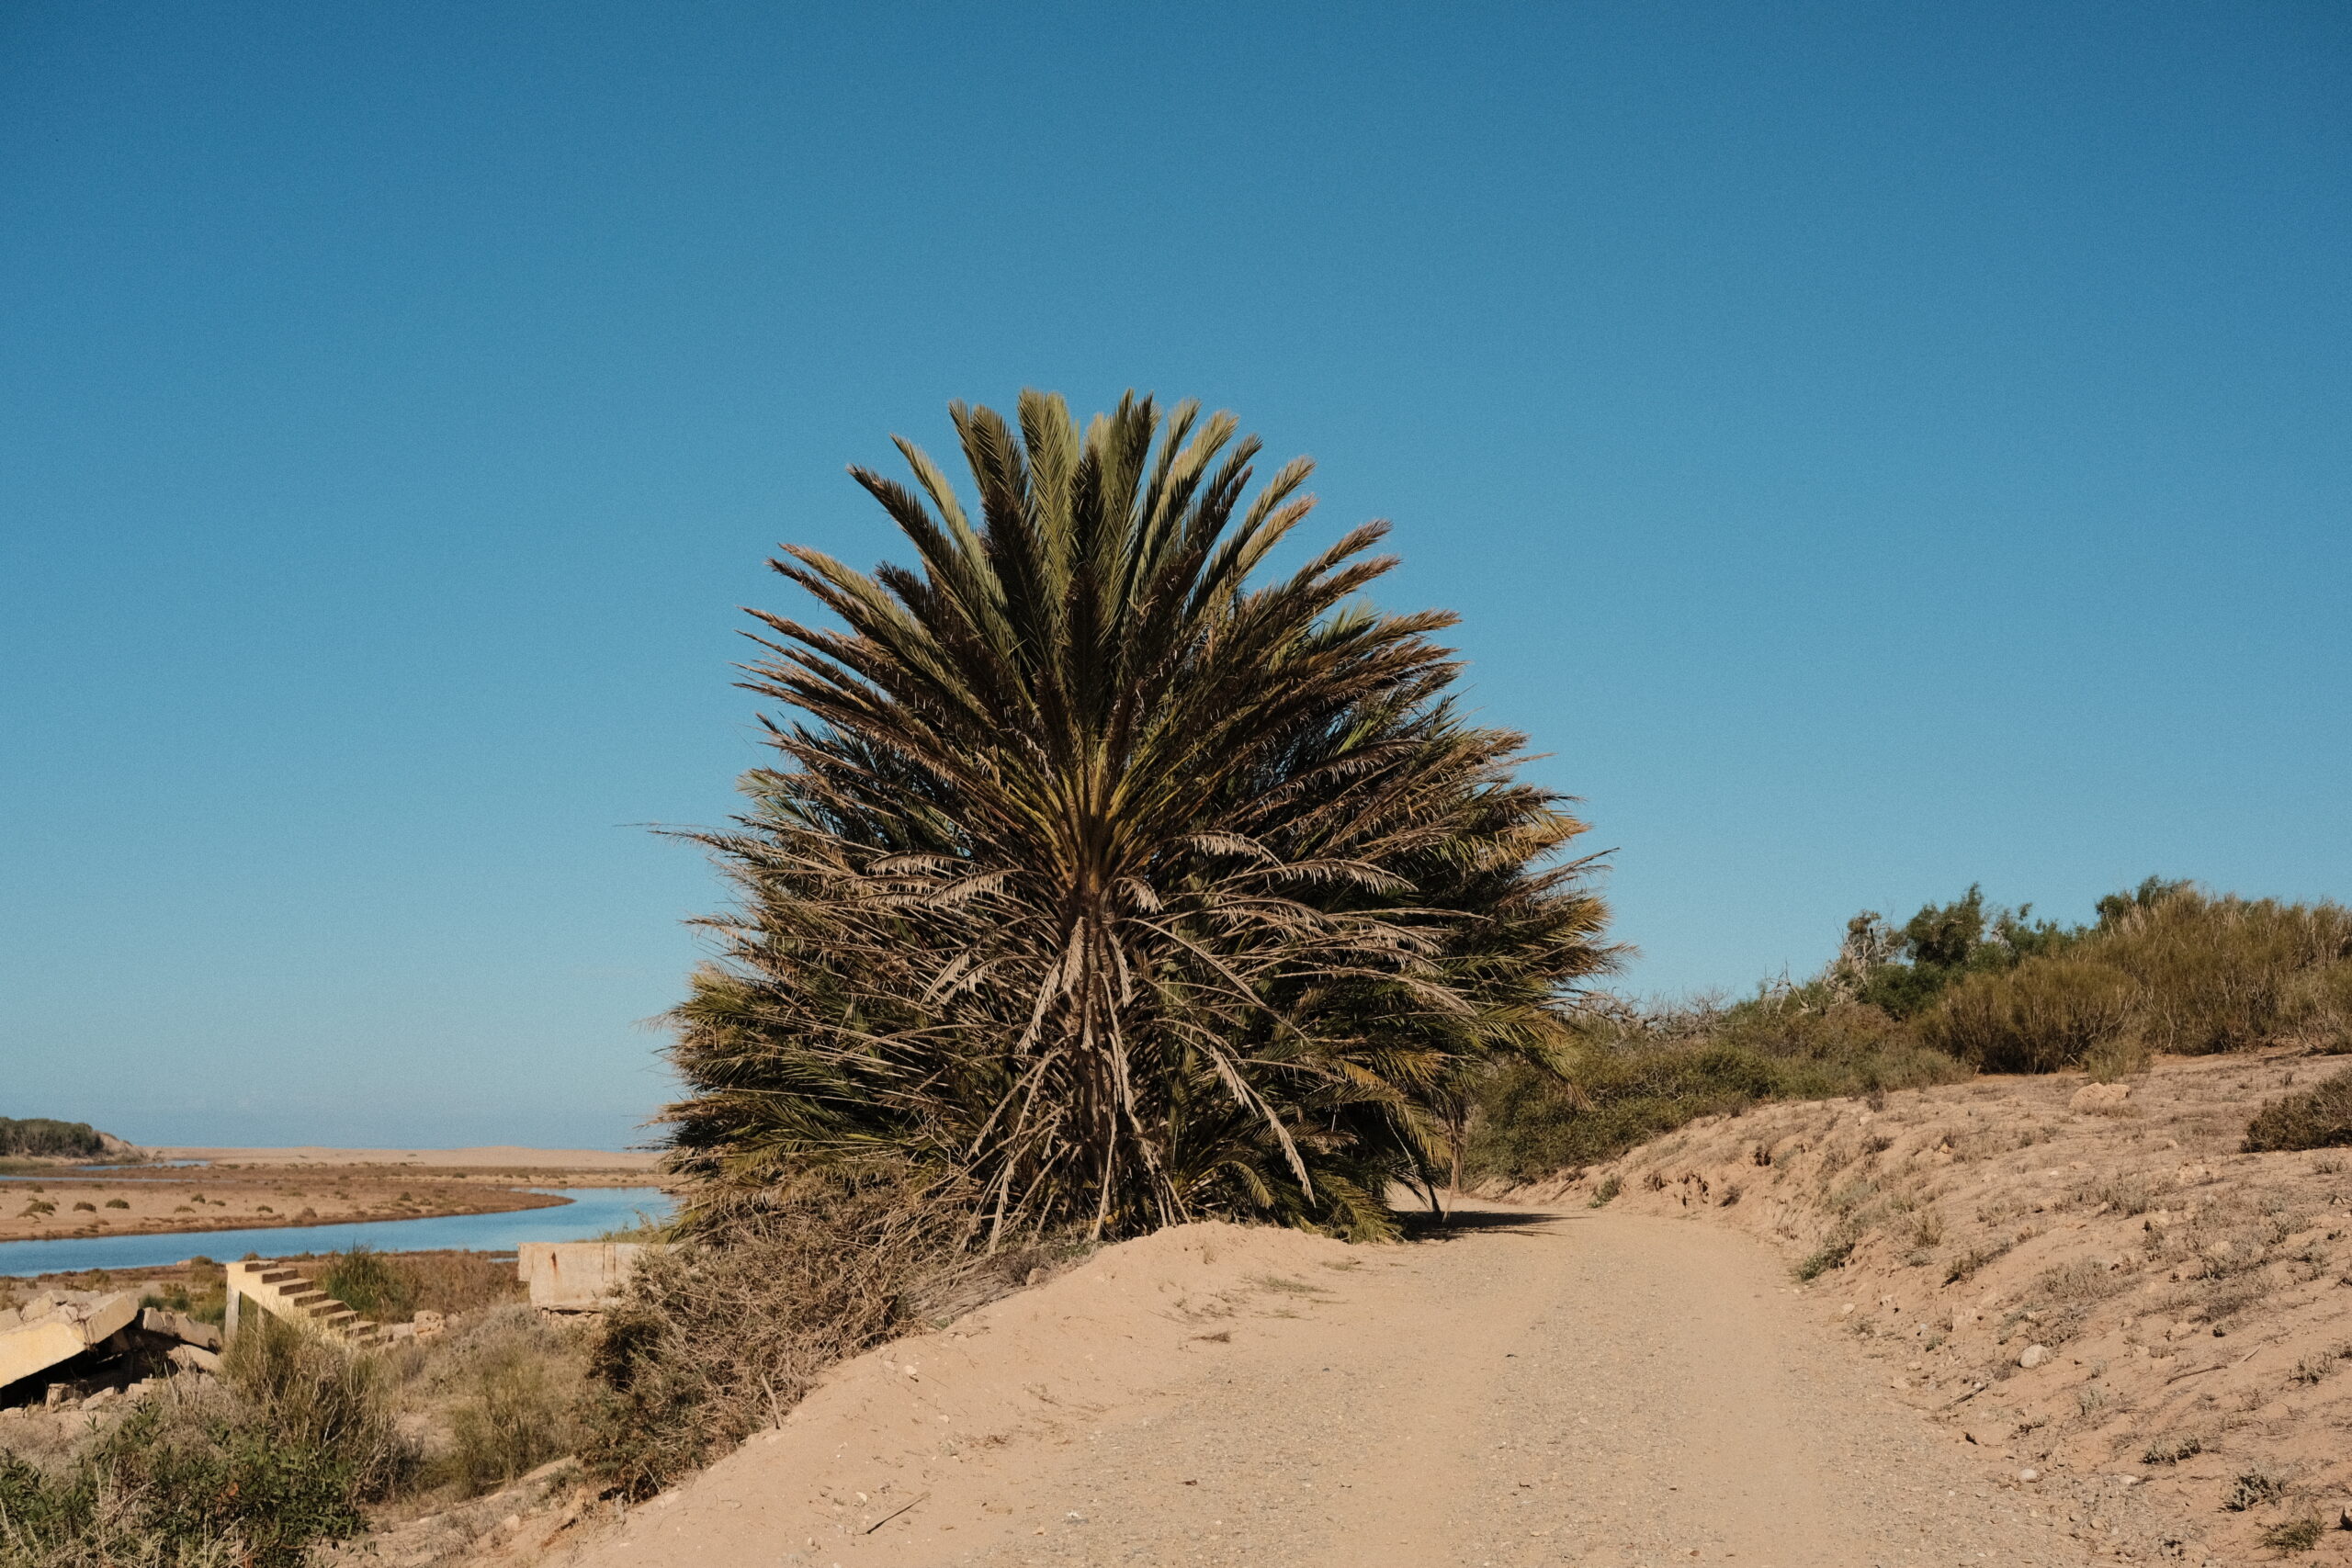
For photographers with a love of adventure, few experiences are as rewarding as hiking through scenic landscapes, camping under the stars, and capturing the beauty of the great outdoors. Whether you’re trekking through mountains, exploring coastal trails, or setting up camp in a forest, landscape photography while hiking requires a mix of planning, creativity, and the right equipment. Here’s how you can capture truly epic landscape shots on your next adventure.
1. Scout Your Location Before the Trip
Preparation is key when it comes to landscape photography. Research the location before you arrive to ensure you know where the best views, trails, and vantage points are located.
- Tip: Use apps like Google Earth or AllTrails to virtually explore the area, checking the elevation and angles for the best possible shots. You can also find photography spots from other photographers on apps like Instagram and Pinterest by searching the location tag.
- Bonus: If you’re camping, set up your tent in a place with a view so you can wake up to the perfect sunrise or capture the stars without straying too far.
2. Embrace the Golden and Blue Hours
Timing is everything in landscape photography. The light during the early morning and late evening—known as the golden hour—creates long shadows, soft tones, and a warm glow that makes landscapes appear magical. The blue hour, just after sunset, brings a cool, atmospheric quality to your shots.
- Tip: Plan your hike so you can reach your shooting location at the right time. If you’re camping, this is much easier since you can wake up just before sunrise and capture the moment without rushing.
- Bonus: Cloudy days can also work wonders, as they diffuse the light, giving your photos a more dramatic and textured look.
3. Use Leading Lines to Guide the Viewer
In vast landscapes, it’s important to create depth in your photos. One of the most effective ways to do this is by incorporating leading lines. These are natural or man-made elements in the landscape that guide the viewer’s eye toward the subject or the horizon.
- Tip: Look for pathways, rivers, mountain ridges, or lines created by shadows that naturally lead the viewer’s gaze through your image. Position these lines so they draw attention to the most striking part of the scene.
- Bonus: Experiment with composition by including foreground elements like rocks, trees, or flowers to add more layers to your shot.
4. Carry the Right Gear Without Overpacking
When hiking or camping, traveling light is crucial. You don’t want to be weighed down by too much gear, but you also need to make sure you have the essentials for great landscape shots.
- Recommended Gear:
- Camera: A mirrorless camera like the Fujifilm X-T5 offers a balance of high image quality and portability.
- Lenses: A wide-angle lens (e.g., 16-35mm) for capturing sweeping landscapes, and a telephoto lens (70-200mm) for isolating distant subjects like mountains or wildlife.
- Tripod: A lightweight, collapsible tripod is essential for long exposures and stable shots, especially in low light.
- Filters: A polarizing filter helps reduce glare and makes the sky and colors pop, while neutral density filters can help you achieve those silky smooth water effects.
- Bonus: Keep a microfiber cloth handy to clean your lenses—dust and moisture are common in outdoor environments.
5. Take Advantage of Natural Framing
Natural framing involves using elements in your environment to frame your subject, drawing attention and adding depth to the photo. You can use trees, rock formations, or even tents to create this effect.
- Tip: Find archways created by tree branches, a gap in the rocks, or any natural formation that can “frame” the landscape beyond it. This technique works especially well for photos where you want to highlight a focal point like a mountain or waterfall.
- Bonus: Try positioning yourself at different angles or even climbing slightly higher or lower to get creative with your framing.
6. Tell a Story with Your Photos
The best landscape photos don’t just capture a place—they tell a story about your journey and experience in that location. This can be done by including elements that show the scale of the landscape or the challenges you faced during the hike.
- Tip: Include people in your shots, either from a distance to show scale, or interacting with the environment—like setting up camp or hiking on a trail. This adds a personal element and gives viewers a sense of the adventure.
- Bonus: If you’re traveling solo, a self-timer or remote shutter release can help you capture these moments without needing a second person.
Final Thoughts
Hiking and camping offer unique opportunities to create truly awe-inspiring landscape photos. By planning ahead, embracing natural light, and using the landscape’s features to your advantage, you can take home a collection of unforgettable images. Remember to pack light, be patient, and, most importantly, enjoy the experience of exploring nature through your lens.

